![]()
 I don’t think I’ve inhaled as much bread as I have these past few months so gleefully and willingly as I did in my teens and early 20s. Before the virus turned our lives upside down, there was a slight inclination to control my diet at times to keep the excess pounds off (Herculean effort seeing as my devotion to food can never be suppressed for too long) thereby controlling my bread intake. These months it’s gloves off. The minute my brain comprehended that we will be sitting at home for God-knows-how-long, it gave the green light to just let go. And I mean JUST LET GO.
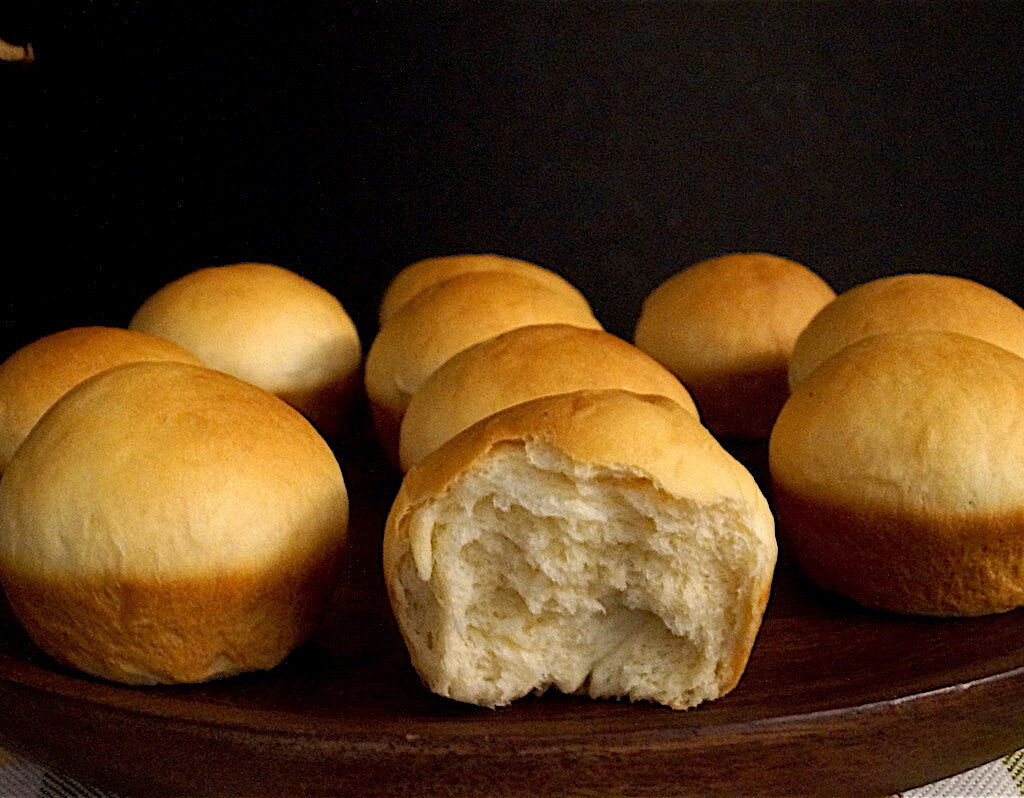
You know those people who used exercise as a way to get through the lockdown? Well, that wasn’t me. I used food. Still on it. As a result, I’m now down to buying stretchy elastic waisted jersey shorts and trousers one size up to compensate for 90 percent of the contents in my cupboard not being available to me. And I’m not even crying about it any more. That’s the shocker. Am sure sooner or later the urge to try and get back in shape will hit and hard, but that time is not now. Now is bread time, soft, fluffy, Japanese milk bread buns with a hint of sweet. Sooooo Goooood.
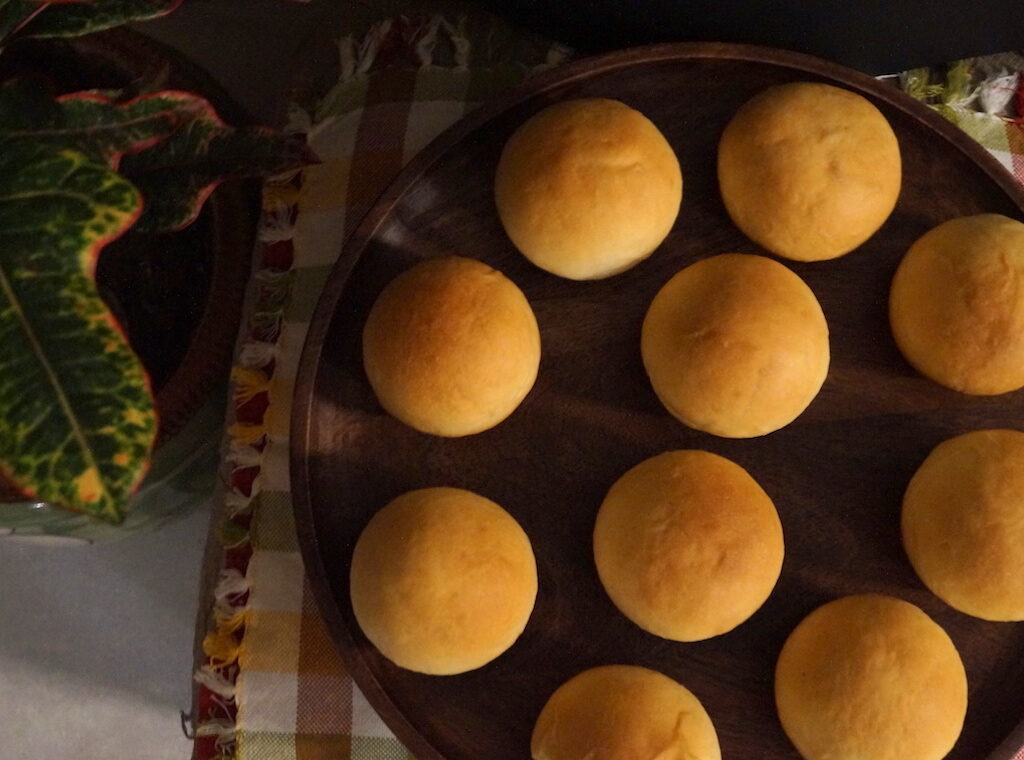
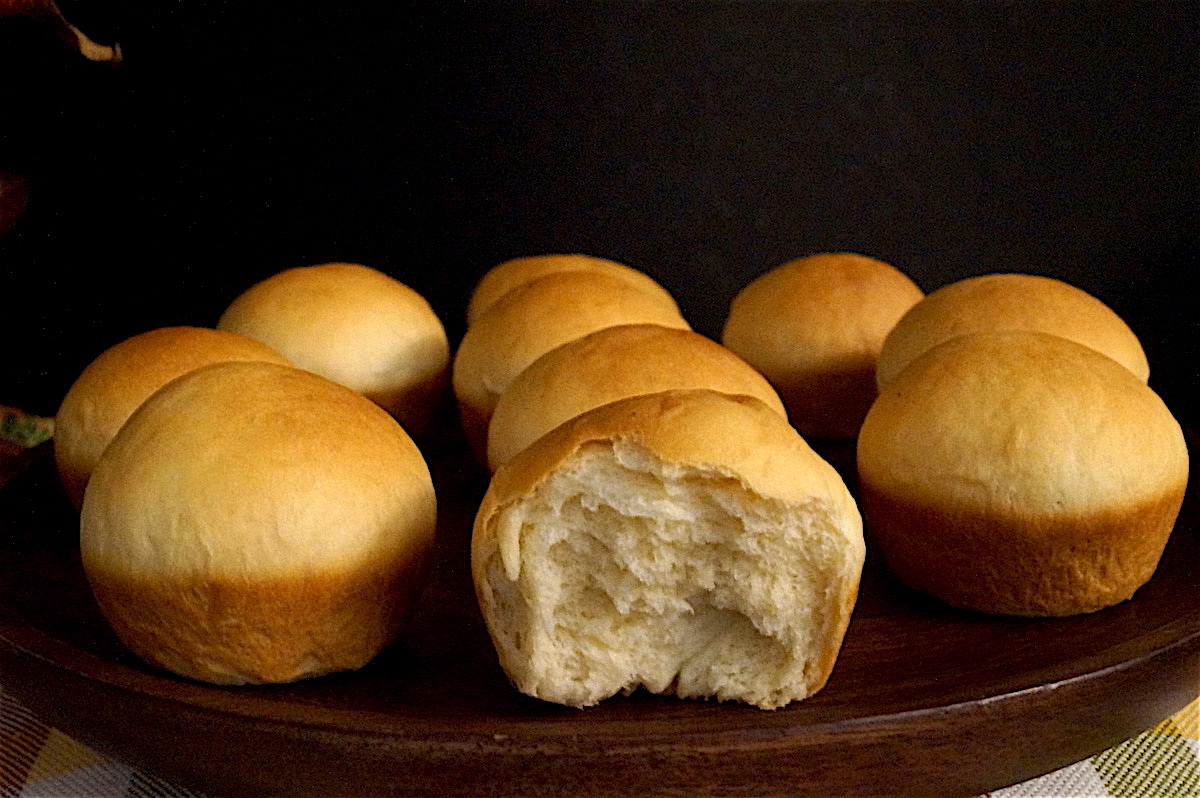
These buns are simply delicious. They’re so versatile that you can make tons of things with this dough recipe. I used this very dough to make my Best Cinnamon Rolls Ever and they are to die for. While I was making those, I was struck by the idea, that the dough can be used for so much more, so I made these into simple Japanese milk buns and they were awesome, I kid you not. My family wolfed these down as fast as they did the cinnamon buns and everyone else I shared them with, even the day after, said they were wonderful. There’s such a high demand for these in my home that it’s almost impossible to share them with friends unless I make a double or triple batch.
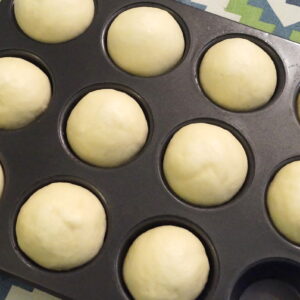
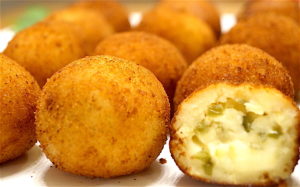
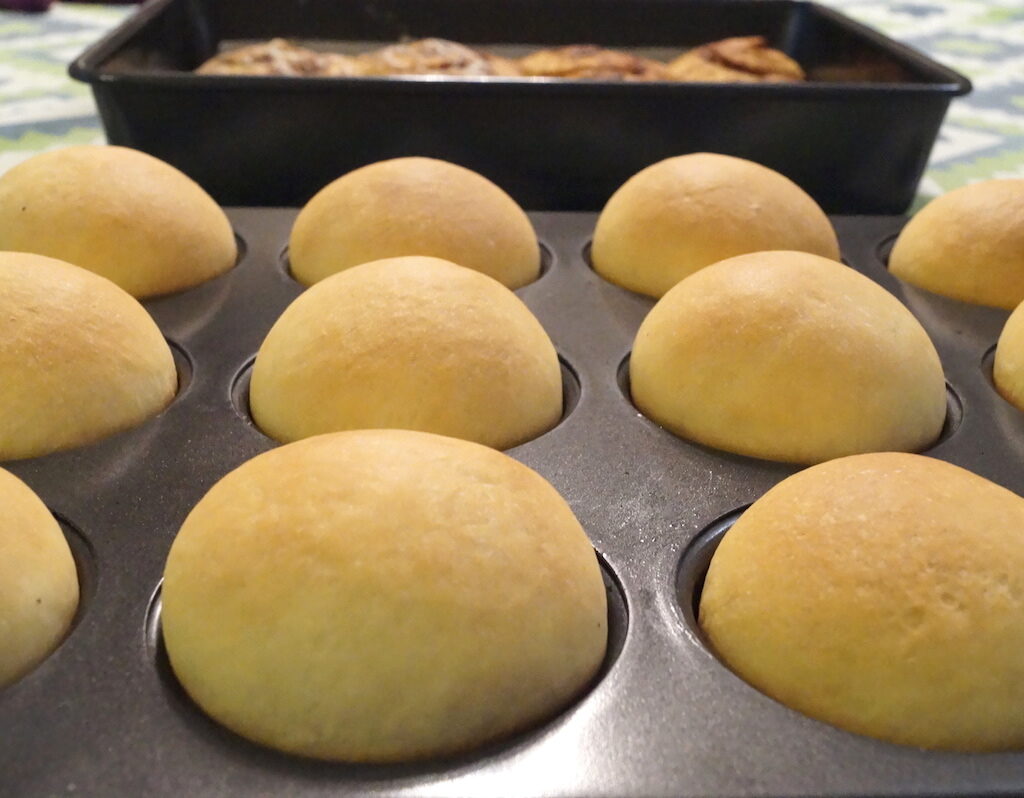
The great part about this dough is that you can use it to make plain Japanese milk buns, or bread, or cinnamon rolls, or doughnuts, or stuff them with chocolate or jam or anything that catches your fancy. The possibilities are endless. I plonked the balls into my muffin tin and out came these lovely Japanese milk muffins. I did not brush the buns with any milk or butter or egg before or after baking and they tasted great. The kids have asked me to stuff them with chocolate and peanut butter next. May have that recipe out too sometime soon.
These buns use the Tangzhong method – where you heat a small portion of the flour with water to make a paste which you then add that to the dry ingredients. This helps incorporate more moisture into the dough giving the bread more of a lift and keeping it fresh and light for a longer period. DO NOT miss this step. its takes no time at all and makes all the difference. On a side note, it is much more convenient to make these Japanese milk buns with a stand mixer. Since the dough is a bit wet, it takes a lot of time kneading by hand to get it to the consistency you need to get the best texture for the buns. You will get a good workout of at least twenty to 30 minutes if attempting this by hand, but do not let this deter you. A happy tummy, arm toning and a good night’s sleep (due to exhaustion) awaits ;-). On that encouraging note, I give you my amazing Japanese milk buns – Ta Daaa..
Ingredients (makes 10 – 11 medium buns)
⅔ cup water (145 -150 ml)
2½ cups flour (340gms) – I used all purpose flour
½ cup milk powder (60 gms)
¼ cup powdered sugar (50 gms)
¼ cup softened butter (50gms) – I used salted butter
1 tsp salt (8 gms)
½ tbsp instant yeast (5gms)
1 large egg
Get Started (pictorial steps below)
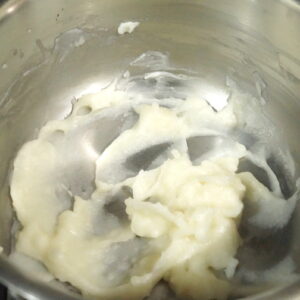
- In a small saucepan, take 6 tablespoons of the water and mix in 2 tablespoons of the flour till all the flour has dissolved and warm on low heat stirring all the while till the mixture thickens slightly.
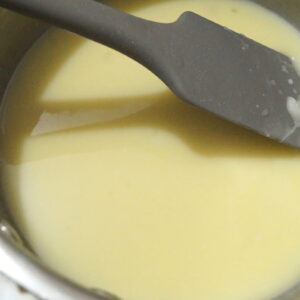
- Then pour in all the remaining water to cool it down and mix well till it becomes a smooth liquid. Add the egg to the liquid once you feel the mixture has cooled and mix till well blended. Set aside.
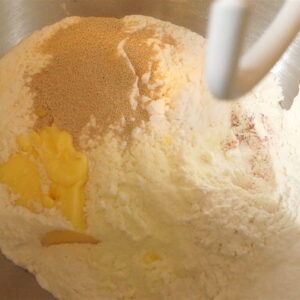
- Attach a dough hook to your stand mixer, place the remaining flour, milk powder, salt, sugar, butter and yeast in the mixing bowl making sure the yeast is not touching the salt or sitting on the butter for long if it is salted.
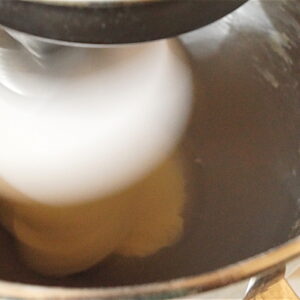
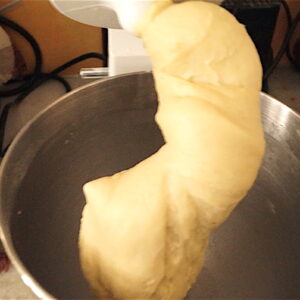
- Pour the flour, water, egg mixture into the dry ingredients and beat at a low speed initially for a minute till the wet and dry ingredients combine, then increase the speed to 4 and continue to let it knead the dough for at least 6 to 8 minutes till the dough becomes smooth. This is a slightly moist dough so you should have a small amount of it not leaving the bottom of the bowl at all times. If you don’t have a stand mixer, you can knead this by hand, but it will take about 20 to 30 minutes.
- About 5 minutes into kneading, stop the mixer and touch the dough. It should not leave any dough on your finger when you pull away. If that happens, add a tablespoon of flour to the dough and continue to knead for another 3 to 4 minutes.
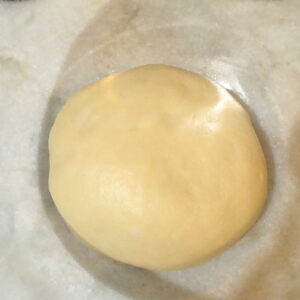
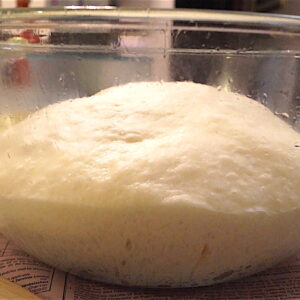
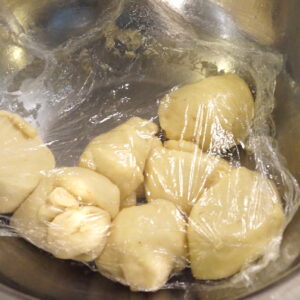
- Gently shape the dough into a ball and place it in a large bowl brushed with oil and cover with cling film or a towel and keep in a warm place for at least two and a half to three hours (I kept it for three hours) till it more than doubles in size.
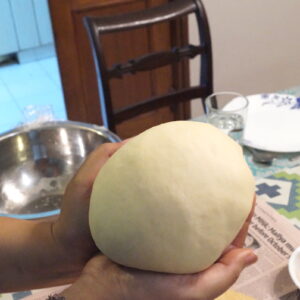
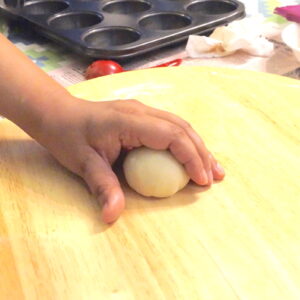
- After three hours, turn the dough gently onto a clean and lightly floured work surface and shape the bun gently into a ball, lightly pressing out the air.
- These measurements make approximately 660 grams of dough, so you want medium buns, you can cut out and measure 10- 11 portions of dough of about 66 or 60 grams each. Use a digital weighing scale for this. You can make larger buns too.
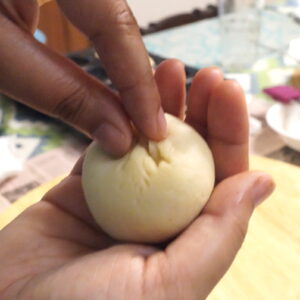
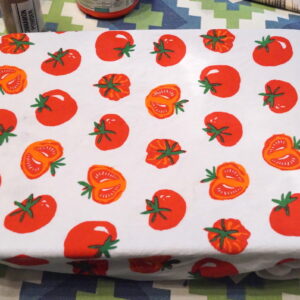
- Shape the dough into individual balls and place them in a baking pan about an inch apart and leave to rest, covered with a damp cloth for 1 hour. I used a muffin tin which I brushed with oil all over to make individual puffs. Cover the rest of the dough portions with cling film or a towel while you shape each individual portion so that they don’t dry out.
- Pre-heat your oven to 180°C or 350°F. Bake the buns in the centre rack of the oven for 20 minutes. I did not brush the buns with any egg, milk or butter before or after baking. These are best when consumed hot out of the oven. Nothing better than that!
- Store leftovers in an airtight container and in cool climate you can keep it in a cool dry place but in hot humid climate, refrigerate. Heat in the microwave for 1 minute immediately after taking it out of the fridge and if the rolls are at room temperature, heat it for 30 seconds in the microwave for the best taste after storing.
Important notes: The most important thing to note when baking is to Know Your Oven. Every oven behaves differently in its heating capacity. There have been cakes that have called for 40 minutes of baking time and sometimes mine has taken an hour. Size of ovens make a huge difference. Smaller ovens (19 to 28 litres) have higher concentration and intensity of heat so you may want to take that into consideration. You need to tweak the temperature and baking times accordingly if your oven is a bit off standard thermostat. This knowledge is critical for your baking success.
Pictorial Steps: