
![]()
Coming up with the recipe for this lovely chocolate cake was so enjoyable especially as all the variations I tried out came out brilliantly! The Universe was being kind to me this time, after all the culinary disasters I’ve had in the past few months. I tried three different proportions, all of which worked, and even managed to get a delicious accidental eggless brownie out one of the tries!
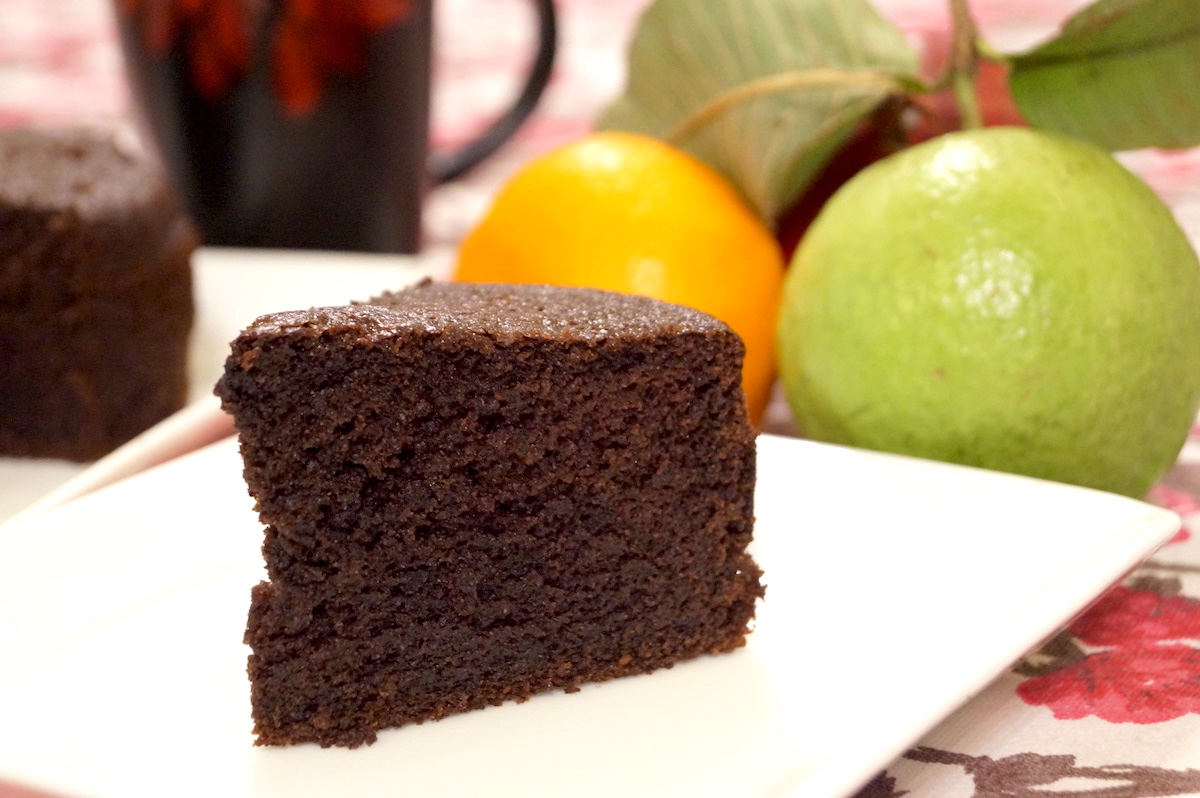
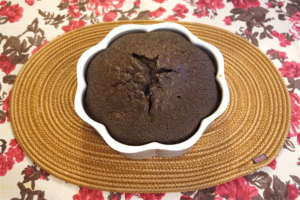
What I wanted originally was to come up with my own recipe for a dense chocolate loaf but ended up with this delicious moist, soft, fluffy tea cake which can be eaten on its own without any icing. I put some tips and tricks together that I’ve learned from baking different types of cakes and hit up this proportion, which I must say is super versatile! By just eliminating some things and adding and subtracting, this cake can become a brownie, or a dense chocolate loaf, all of which I will put out on the blog subsequently.
I just need a few days off from baking cakes. Too much sugar and I definitely need to shed quite a few of those excess pounds that have come from eating most of the cakes I’ve been baking, myself.
For my desserts, I use dark cooking chocolate compounds, which give a dark chocolate taste without that lingering bitterness that comes from 50 and 70 percent cocoa chocolates. I can’t eat those in desserts and neither can most of the people I know around me. That’s definitely an acquired taste and unfortunately, something I don’t have. For all the chocolate purists, you’re most welcome to use dark chocolate. This cake also has oil, which I’ve found has this wonderful way of keeping it moist and not allowing the cake to harden and dry out as pure butter cakes tend to do once cold.
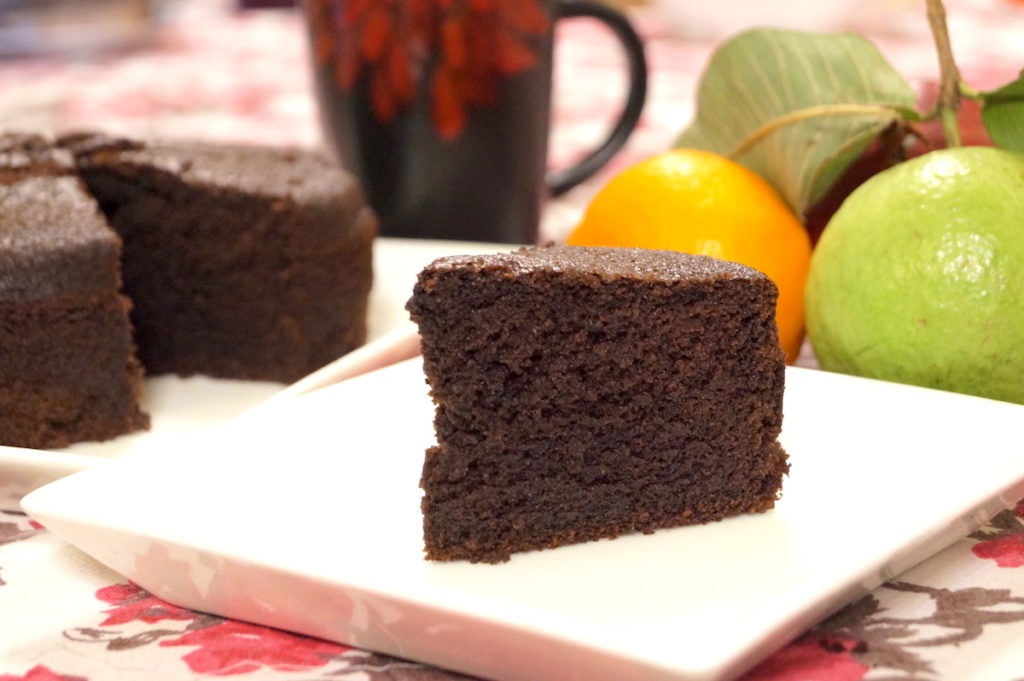
I want to bake a cake that could be eaten on its own without icing. It’s easy to make cakes taste good covered in butter and sugar and chocolate and all the other stuff, but sometimes, one needs the simple stuff that can hold their own without fancy toppings. This cake sure does. However, you can always drizzle chocolate sauce over it. One of my friends took it one step further, dunking it in Baileys Irish cream! I sent small portions of this cake to four houses and got great reviews. Family of course, loved it. So here goes.
Ingredients
150 gms flour
10 gms cocoa powder
½ tsp salt
¾ tsp baking powder
¾ tsp baking soda
120 gms semi-sweet chocolate (I used Van Leer dark chocolate compound)
60 gms butter
120 gms fine sugar (or whack coarse grains in a blender)
2 tbsp oil (I used rice bran oil)
2 eggs
100 ml milk
½ cup (130ml boiling water)
Get Started (Pictorial steps below)
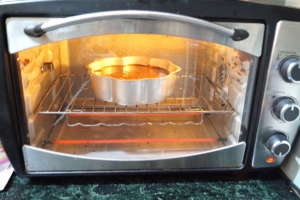
- Pre heat your oven to 180°C with only the bottom heating rods turned on.
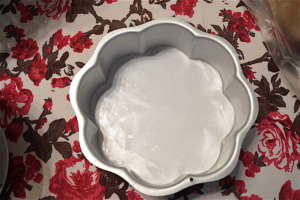
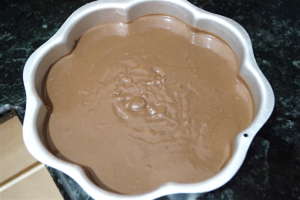
- Line an 7 or 7.5 inch diameter baking tin (without a removable bottom) with butter paper/parchment paper and oil the sides of the tin right up to the top. The batter is too runny for a tin with a removable bottom.
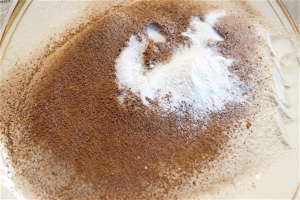
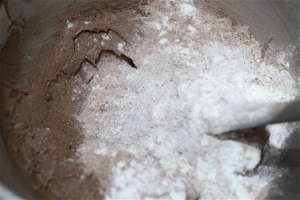
- Sift the flour and cocoa powder together onto a large plate. Add the salt, baking powder and baking soda and set aside.
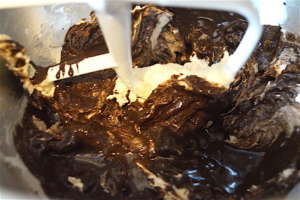
- Melt the chocolate either in a microwave or a double boiler. I whacked my chocolate compound block with a rolling pin and melted the pieces for three minutes in a microwave. You can start with two minutes and keep going for 30 seconds to a minute more if the chocolate hasn’t melted and then stir till smooth. Add the 2 tablespoons of oil to the melted chocolate and mix well. That will prevent the chocolate from hardening up again.
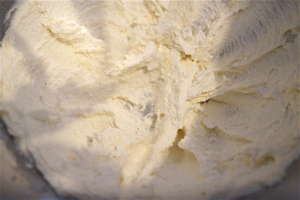
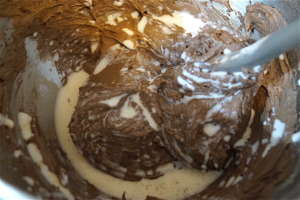
- In a stand mixer or a large bowl, beat the butter with the sugar on high for at least 2 minutes till light and fluffy. Add the melted chocolate to the butter and mix for another 30 seconds.
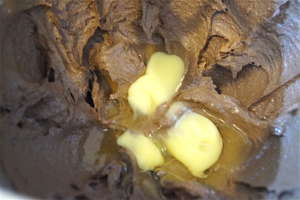
- Then add the eggs one by one, mixing each one well into the batter before adding the other.
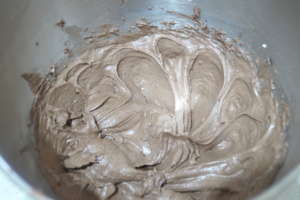
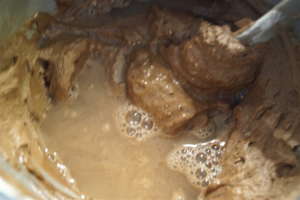
- Put in half the flour and cocoa mixture into the butter mix and fold till smooth and creamy. It may seem too dry in the beginning but will incorporate well. Then add half the milk and fold in. Repeat with the other half of the flour and milk.
- Lastly, pour in the half cup of boiling water and mix well till fully incorporated into the batter and the batter becomes smooth with no lumps.
- Pour the batter into the baking tin and place in the centre rack of the oven and bake for 40 minutes. After 40 minutes, insert a skewer into the centre of the cake. It should come out clean. If there is batter stuck to it, keep the cake in the oven for another five minutes and check again.
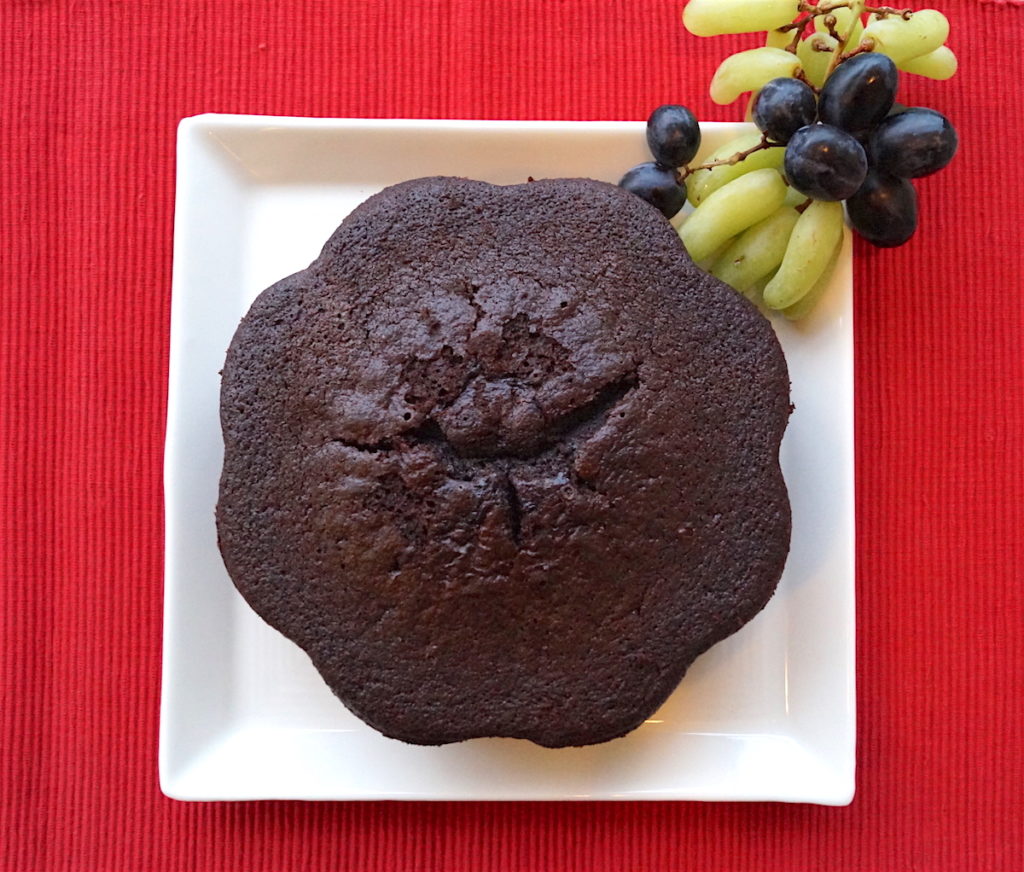
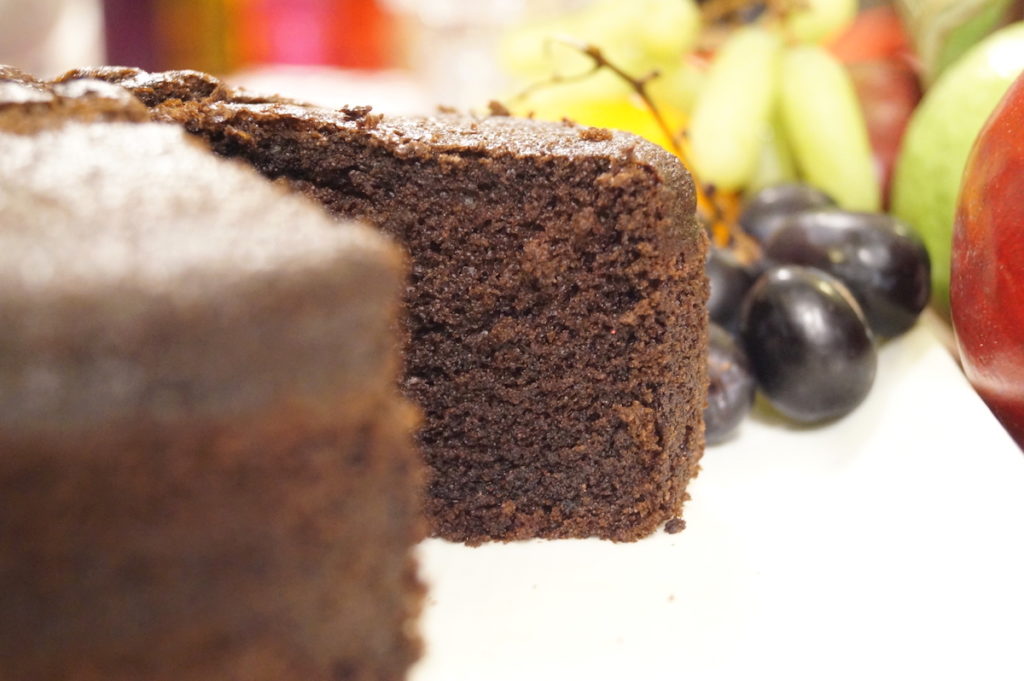
- When the skewer comes out clean, remove the cake from the oven and let it cool in the tin for at least half an hour. Then run a knife all along between the the edge of the cake and the tin to loosen it from the tin and flip onto a plate. Remove the butter paper from the bottom of the cake, place it right side up on a serving dish and eat to your heart’s content!
Important Notes: I only use the heating rods at the bottom of my oven for baking my cakes. if you have an oven where you don’t have the option of turning the rods on the top off you can place an oven tray between the rod and the cake. I don’t use ovens which have only heating from the top.
The most important thing to note when baking is to Know Your Oven. Every oven behaves differently. There have been cakes that have called for 40 minutes of baking time and mine has taken an hour. This knowledge is critical for your baking success.
The batter is very runny so you will not be able to use a baking tin with a removable bottom.
Don’t use a larger or smaller baking tin. This is the perfect proportion for a 7 to 7.5-inch tin.
Pictorial Steps
Made the cake – it was just awesome. Fluffy and light and yummm!!! 😀
So glad it came out well! Will be putting out more creations soon.