![]()
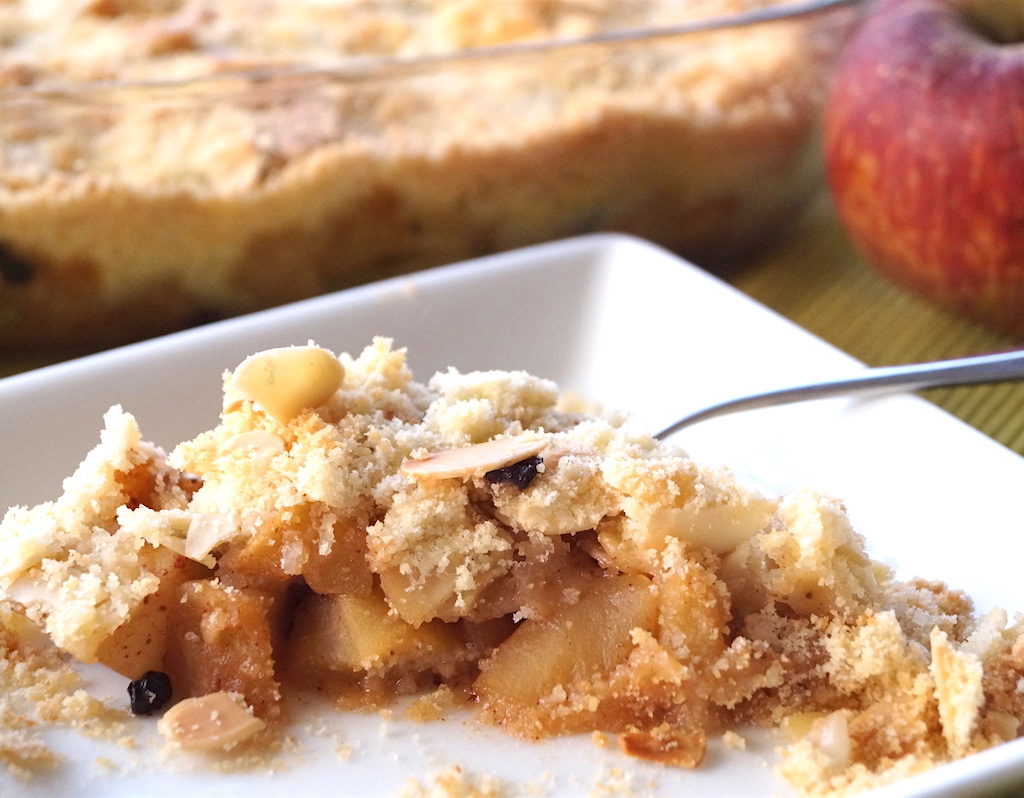
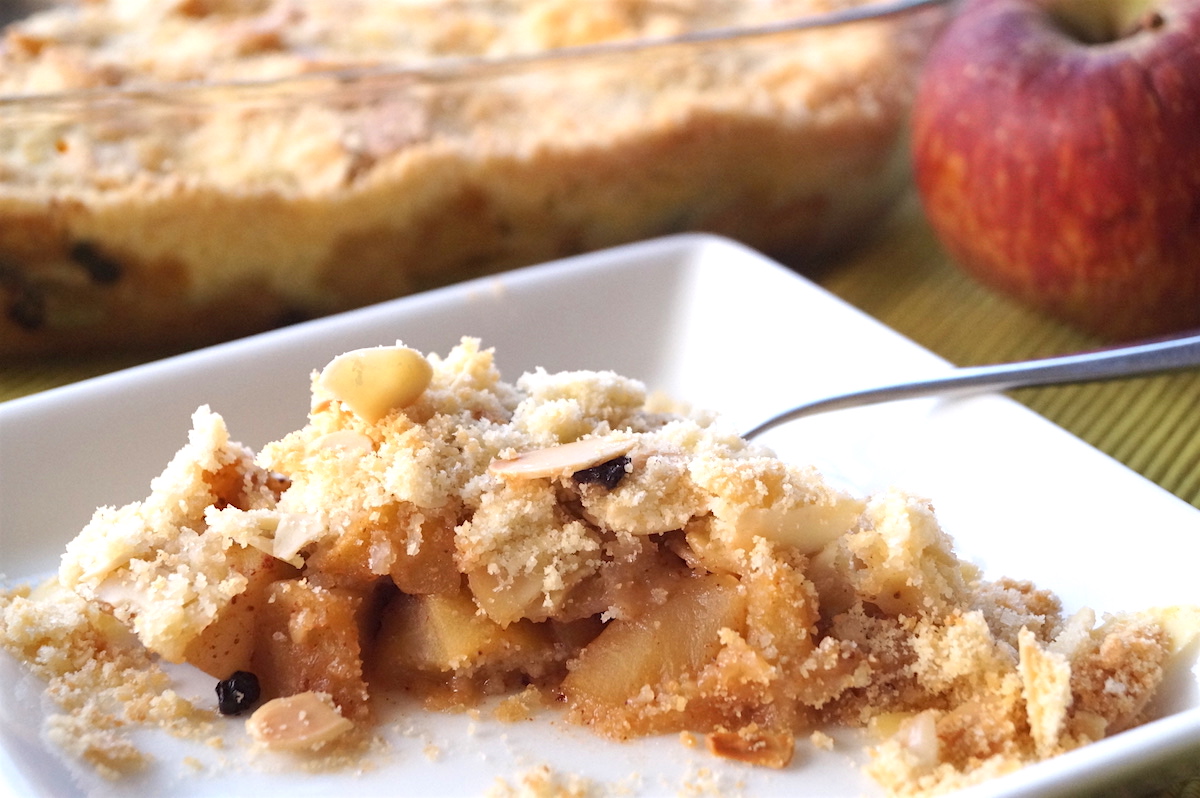
What can one say about apple crumble? It’s one of the most easy, frequently made sweet treats and will most likely have been a part of the dessert menu in almost every second restaurant you would have eaten at. It’s certainly a part of every buffet in a five-star hotel. Made well, it’s delicious and hits all the right spots. However, it is very possible to get this humble dessert quite wrong. You can make it dry, tasteless, too much topping, too little topping, soggy topping, undercooked topping, overcooked apples, and the list goes on and on.
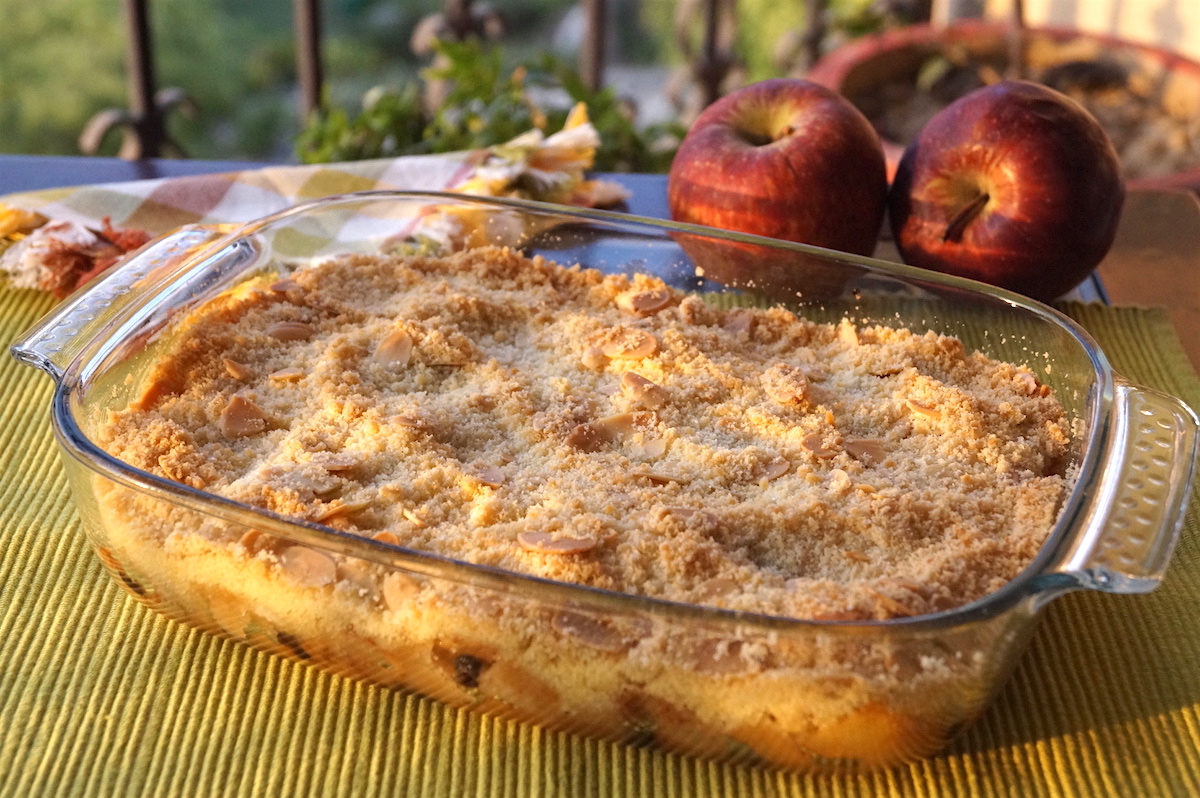
In all the years I’ve been making this, I’ve experienced most of the above – while making as well as eating in restaurants. But through trial and error, I’ve finally hit upon the winning combination. Juicy, fleshy fruit and crisp buttery crumble and I’m sharing my recipe for you all to enjoy. Just remember, your crumble will probably never taste the exact same as everything depends on the quality and type of fruit.
There are a gazillion varieties of apples which vary in their sweetness and texture, so one has to adjust the sugar and lemon juice accordingly. If the apples and pears are very sweet, add less sugar and more lemon juice and vice versa. All in all, taste the apple mixture before adding the crumble topping. See if it’s to your liking and adjust the ratios if not. I like my apple mix a bit tart and not too sweet so everyone has their preferences.
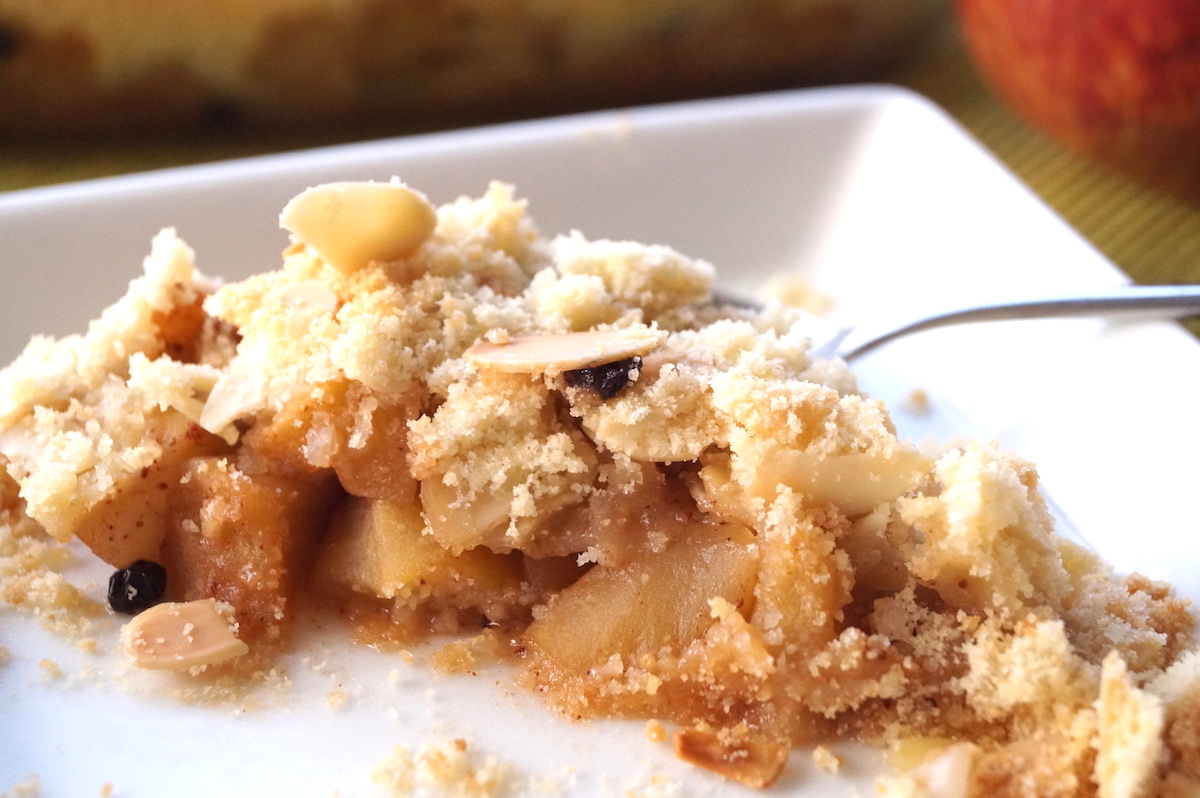
Addition of a sweet and sour dried fruit like dried cranberries or black currants or sour cherries could elevate the crumble to a more gourmet level so experiment with those if you want. Be sure to chop the larger cranberries into small 4mm pieces so that you don’t get a big chunk in your mouth. Hope you like my version. I used Kinnaur apples and large green pears we call Babugosha in north India. Everyone at home loved it.
Ingredients
4 crisp red apples and 2 large pears peeled and diced into 1 inch cubes
2 tbsp dried blackcurrants/cranberries (optional)
2 tablespoons sugar (add more or less depending on sweetness of fruit)
3/4 tsp cinnamon powder
3 tbsp lemon juice (adjust to taste)
Crumble Topping
150 gms flour
100 gms butter chilled and cut into cubes
100 gms sugar (powdered)
50 gms sliced almonds (optional)
1/3 tsp salt
Get Started (Pictorial steps below)
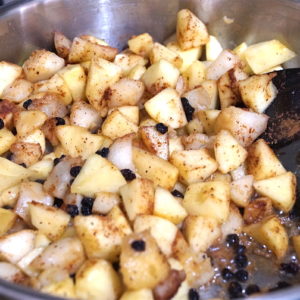
- In a large saucepan heat the apples and pears with the sugar on medium-high for about 10 minutes till most of the water has evaporated. Do not add water. Adjust the heat so you don’t cook the apples too much. Add the blackcurrants, cinnamon powder and lemon juice about a minute before you remove from the heat.
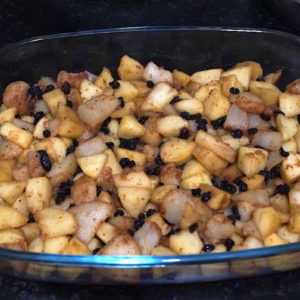
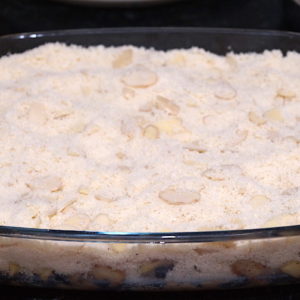
- Put the cooked apple mix into an approx 10 x 7.5 inch baking dish and set aside while you make the crumble topping. At this point preheat your oven to 180°C with both top and bottom heating rods on.
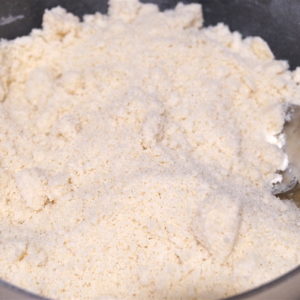
- Mix the flour, salt and sugar together in a bowl and add the chilled butter cubes. With clean hands, rub the butter into the flour thoroughly till the mixture starts looking like breadcrumbs. Once done add the sliced almonds to the mix and spread the topping evenly over the apple mixture.
or
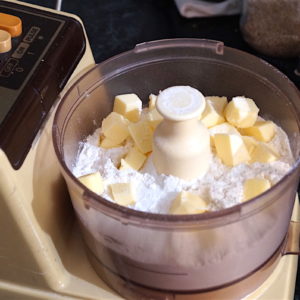
- If you are feeling very lazy and disinclined to get your hands messy like I was, you can put the flour, salt, sugar and butter into a food processor and pulse till you get the right consistency. DO NOT keep the food processor going for too long continuously. You’ll get a doughy clump. Then remove from the food processor, mix in the sliced almonds if using and spread over the apples.
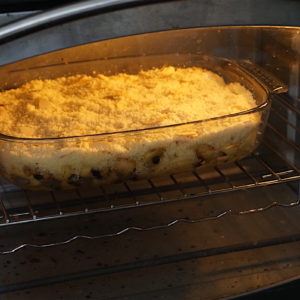
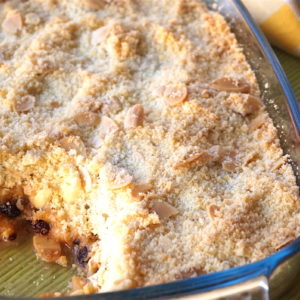
- Place the dish in the centre rack of the oven and bake uncovered for 40 minutes. The crust should be a nice light brown colour. Remove, allow it to cool for about 15 minutes and serve.
Important Notes: The most important thing to note when baking is to Know Your Oven. Every oven behaves differently. There have been cakes that have called for 40 minutes of baking time and mine has taken an hour. This knowledge is critical for your baking success. Smaller ovens have more intense heat while larger ones have a more even distribution. If you have a small 28-litre or less, oven which has top heating you can slide the oven tray just under the rod so that it doesn’t hit your dish directly. Remember, we are looking for a light brown crust, not black.
Pictorial Steps

