![]()
Jams are some of the easiest things to make but we don’t even think of it most of the time. It involves very few ingredients and pretty much comprises boiling the whole lot down. For the last two years I’ve been taking full advantage of strawberry season and making my own jam because then it can be made to my liking and there’s none of those pesky preservatives and additives going into my system.
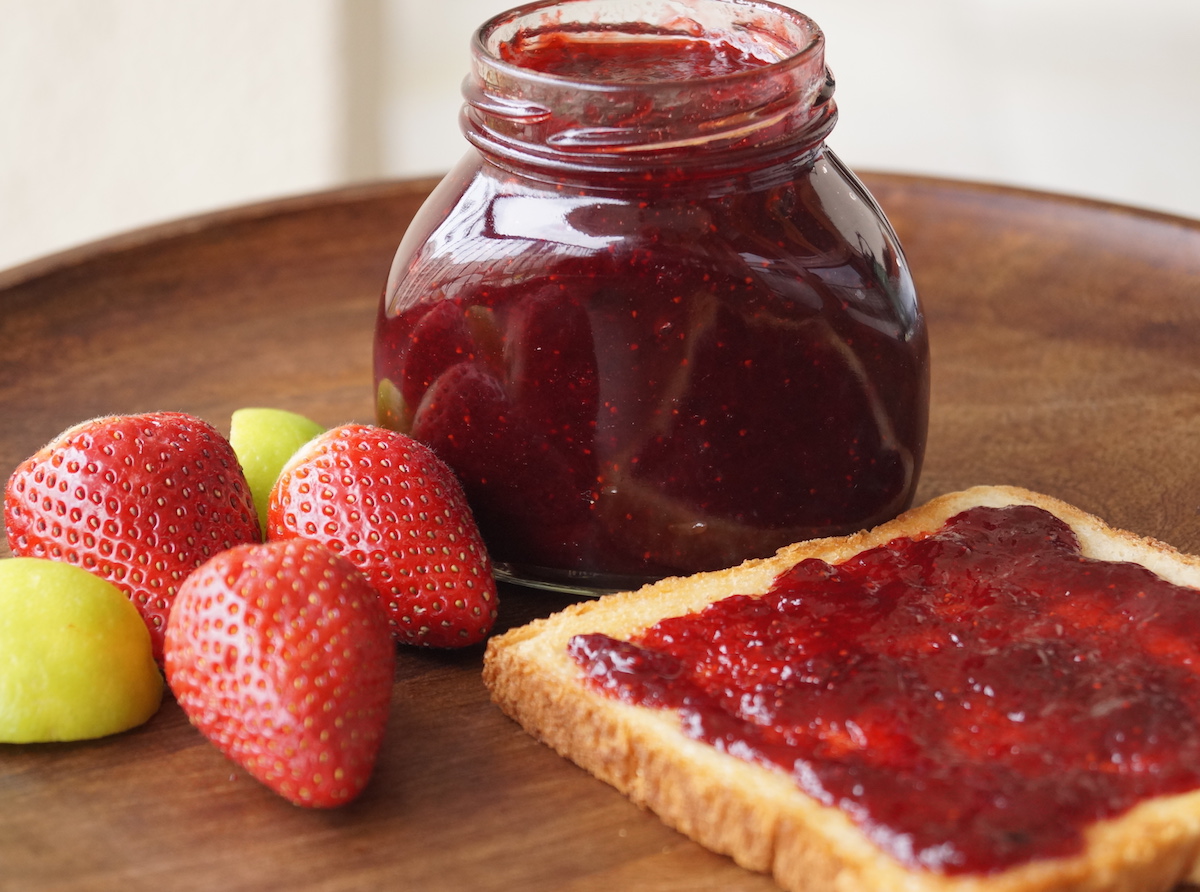
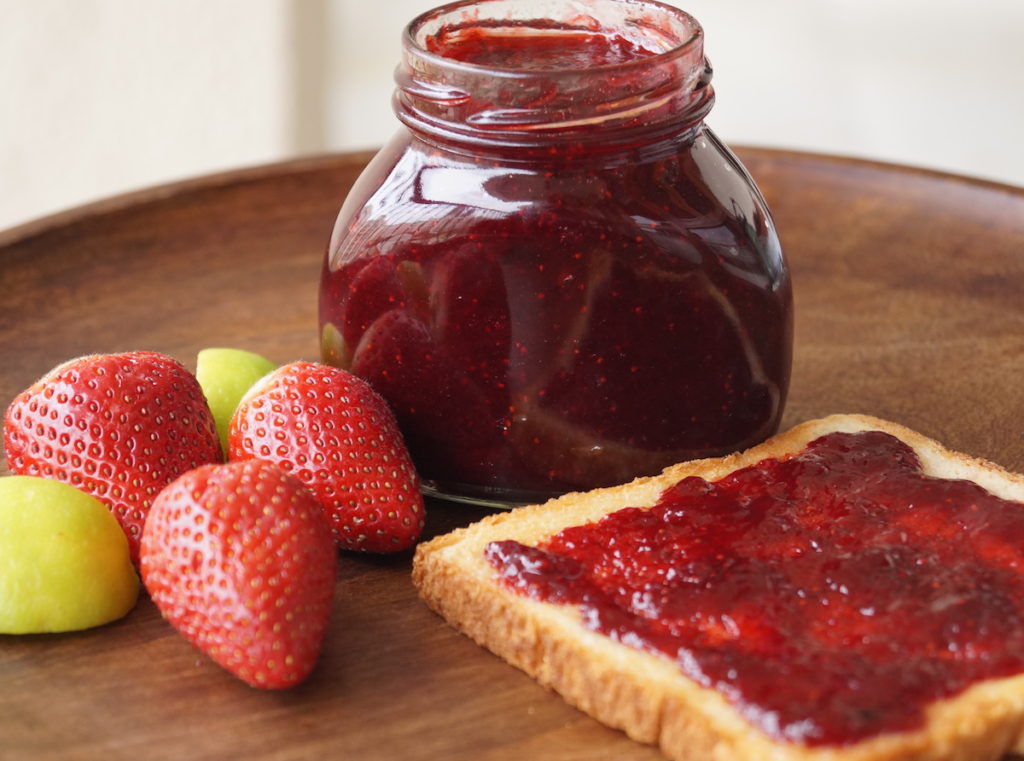
One of my favourite indulgences is a hot toast with melting butter and tart, chunky strawberry jam. I can have about 5 of them at a sitting if unchecked and unfortunately, my son seems to have the same affliction. Gotta tell him that he’s going to have a tough time in his adulthood if he keeps this up! The only saving grace is that the jam we’re indulging in is homemade and has way less sugar and none of the the not-so-good stuff that store bought jams have.
I love strawberry chunks and slightly tart jams. Don’t fancy them too sweet, so I always add less sugar. Most recipes call for equal weight of sugar to the fruit, but I usually end up halving it. The specifications for this recipe are to suit my tastes but you can add more sugar according to your preference. Generally, if the strawberries are very sweet, add less sugar, if a bit sour, add more sugar.
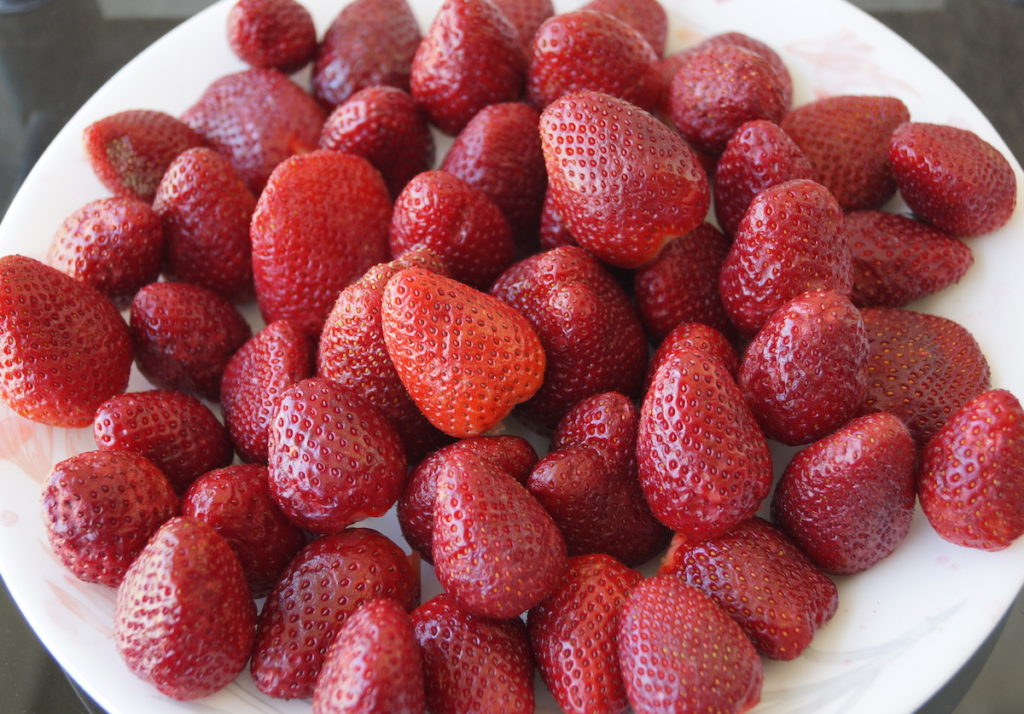
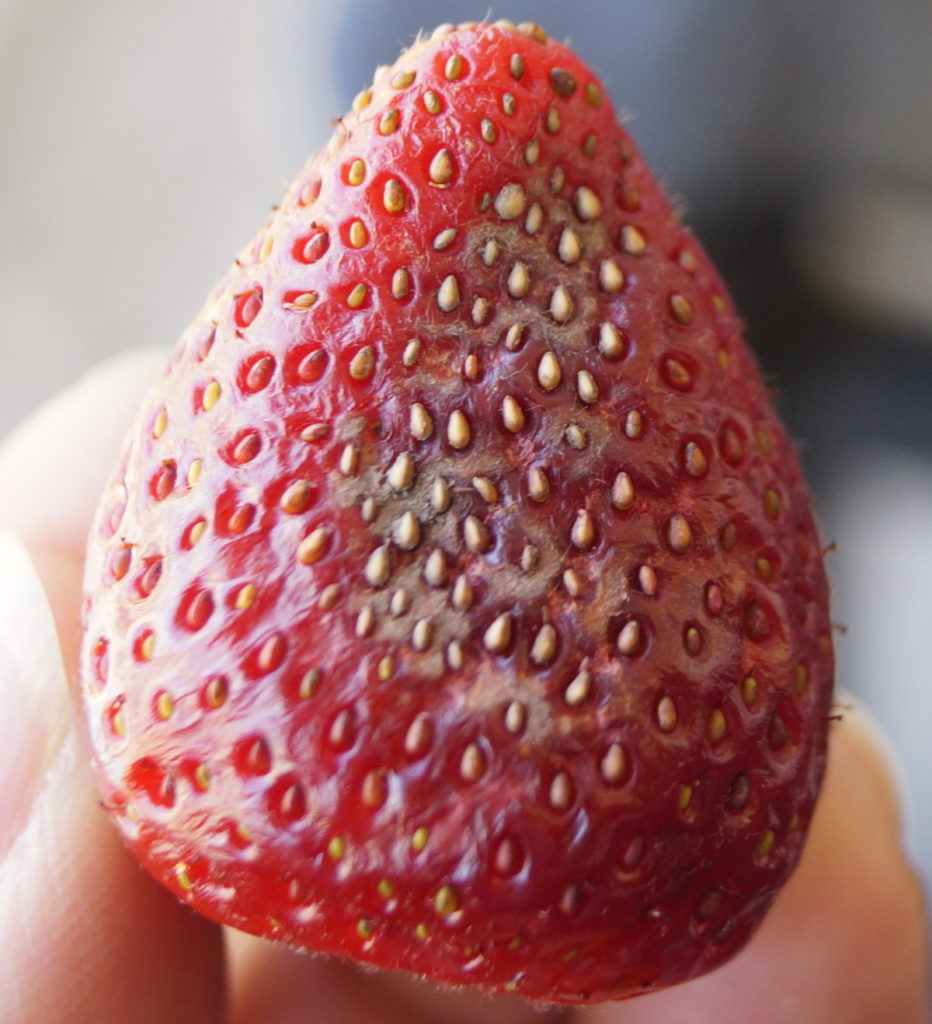
Word of caution, wash the strawberries thoroughly and remove all over-ripe parts or any bruised or discoloured parts before measuring the 800 grams. Any not-so-perfect bits in the strawberries will change the taste of the jam and make it go bad soon. If you’re using 1 kilogram of strawberries, add about 450 – 500 grams of sugar. Check to see what the sweetness of the strawberries are before deciding on how much sugar you want to add.
The jam doesn’t look like it’s going to last too long. All of us with the exception of my poor daughter (who is allergic to strawberries) are attacking it with a vengeance every morning and evening, so I thought i’d better get this up on the blog before there isn’t enough for a picture!
Ingredients
800 gms ripe strawberries (hulled and imperfections or bruises removed)
350 gms sugar
2 tablespoons lemon juice
Get Started
- Roughly chop the strawberries into large chunks (or leave them whole as I did) and drop them into a heavy bottomed vessel with the sugar.
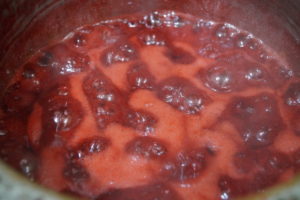
- Simmer on medium heat for 20 to 25 minutes stirring the mixture every once in a while. See that it’s not catching or burning at the bottom. If it is, lower the heat.
- The strawberries will be a light red and liquidy at first when the sugar melts and they start releasing their water, then will begin to thicken. After 20 minutes, check the consistency of the mix. It should be should have thickened and become a dark maroon and should be spitting in the pan.
- Check the mixture consistency by placing on the back of a spoon and running a line through it. If the sides stay where they are then your jam is done. If the sides start converging together then you have to keep on the gas for another few minutes.
- Another way to see if the jam is done is to take some on a spoon and put it on a plate. If it thickens well, you’re done.
- Once the gas is turned off, add the two tablespoons of lemon juice to the jam and stir well.
- Pour the jam into a sterilised glass jar and leave open to cool. Once the jam has cooled completely, close the lid and place the jam in the refrigerator.
- This should last at least six months in the fridge if it doesn’t get eaten up way before that.
Important notes: Don’t over boil the jam. After removing from heat it will thicken further.
Don’t make the jam too runny either. The sugars will not have caramelised thereby not retaining their preservative properties and the jam will go bad soon.
If you’ve burnt the bottom of the jam while boiling, pour the parts that are not black into a different vessel and lower the heat. Or, keep the new vessel on top of a flat pan or tawa so that the heat does not hit it directly.